

Workflow for setting up a new project in ArcFuels10.
Each step in the workflow will be described below.
Before starting a new project it is advised to set up a directory that will house all your input and output data for a specific project. All the data does not need to be in one location for ArcFuels10 to work; however, having all the data in one location makes it much easier to come back to a project after big breaks in time.
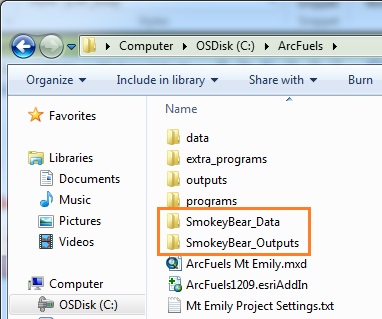
Example data directory for a new project "Smokey Bear" which was added to the existing ArcFuels directory.
When setting up ArcFuels with your own data it is recommended but not required that you place your data and outputs folder within the same parent ArcFuels folder (i.e., C:/ArcFuels/MyData and C:/ArcFuels/MyOutputs).
Also when naming your folders be ware of file naming limitations because of ArcGIS. Avoid spaces and special characters when possible with the exception of the under score "_".
Compile the data need for your project. Remember, ArcFuels can be utilized with raster data, forest inventory data or both. For more information about raster data see Raster data, and FVS data see Inventory data for FVS. Save the data in your new data folder.
Open a new ArcMap session.
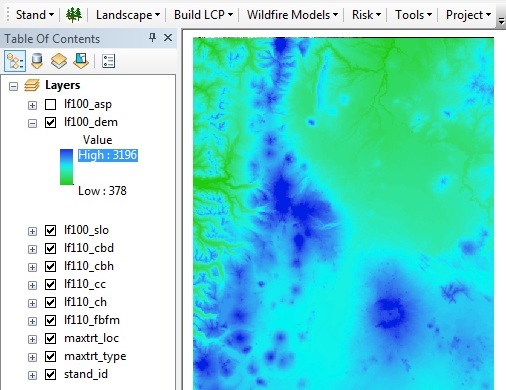
Raster data layers added to ArcMap for the new "Smokey Bear" project. The elevation raster is shown in the figure.
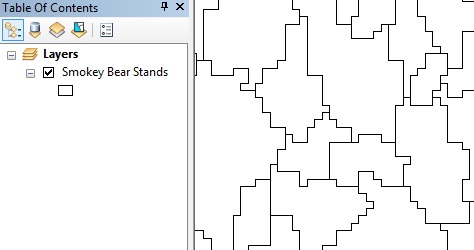
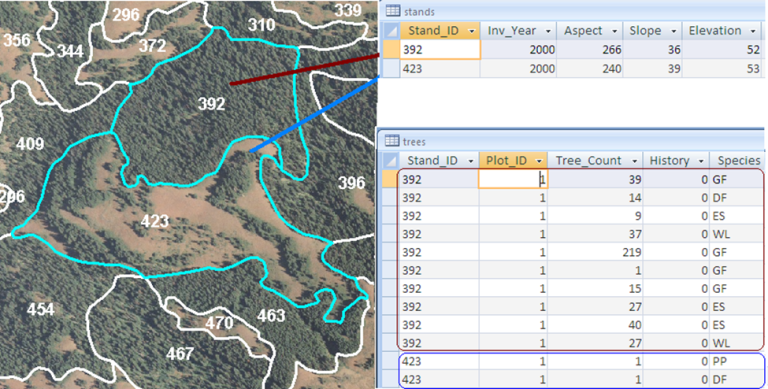
Stand shapefile added to ArcMap for the new "Smokey Bear" project. The stands are linked to the FVS database by a unique Stand Id attribute.
If you are unsure how to add data layers to ArcMap, please see Setting up ArcFuels10 with the Mt. Emily Demonstration Data, as an example with the demonstration data.
For each project the programs needed, and the folders need to be linked using the Project Settings form.
Click the Project button on the ArcFuels10 toolbar then select Project Settings from the drop-down list.

Select the Programs tab.
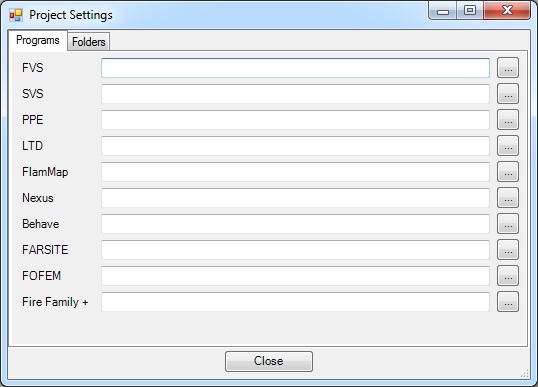
Using the navigation button  to the right of each program, link the programs you will use to complete your analysis.
Below is a table of the location of all the programs and their location within the ArcFuels directory. With the exception of the FVS and PPE executables all programs supplied with ArcFuels are not project specific and can be used. Please see the Inventory data for FVS section for a map to determine which FVS variant is right for your project.
| Program | Executable path | Executable name |
|---|---|---|
| FVS | C:\FVSbin\ | FVSxx.exe |
| SVS | C:\FVSbin\ | winsvs.exe |
| PPE | C:\FVSbin\ | FVSppxx.exe |
| LTD | C:\LTD\ | LTD.exe |
| FlamMap | C:\Workspace\FlamMap5x64\ | FlamMap5.exe |
| Nexus | C:\Workspace\NEXUS\ | NexusNS.exe |
| Behave | C:\Workspace\BehavePlus5\ | BehavePlus5.exe |
| FARSITE | C:\Workspace\FARSITE4\ | farsite4.exe |
| FOFEM | C:\Workspace\FOFEM6\ | FOF_GUI.exe |
| Fire Family Plus | C:\Workspace\FireFamilyPlus\ | fireplus.exe |
Select the Folders tab.
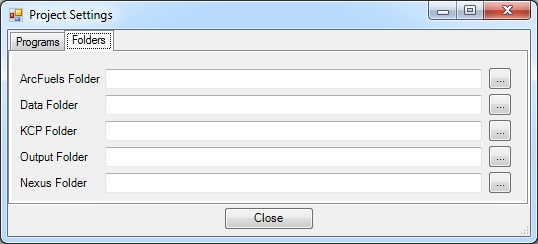
Click the navigation button  to the right of ArcFuels Folder.
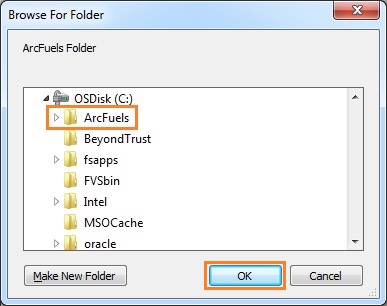
 navigate to the remainder of the folders for your project.
Path to each folder to be linked to ArcFuels10 for the demonstration data.
| Folder | Folder path |
|---|---|
| ArcFuels Folder | C:\ArcFuels\ |
| Data Folder | C:\ArcFuels\YourData\ |
| KCP Folder | C:\ArcFuels\YourData\KCPs\ |
| Output Folder | C:\ArcFuels\YourOutputs\ |
| Nexus Folder | C:\ArcFuels\YourOutputs\ |
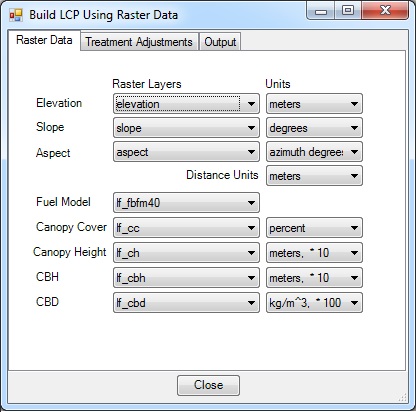
In order to have many of the forms auto-populate with raster data, this data needs to be linked.
Click the Build LCP button on the ArcFuels10 toolbar, then select Build LCP Using Raster Data from the drop-down list.

Select the Raster Data tab.
If using FVS data the linkage between the stand shapefile and FVS database needs to be set.
Click the Stand button on the ArcFuels10 toolbar then select Select Stand: Run FVS from the drop-down list.

Select the FVS Inputs tab.
The final step after creating a new project and linking all the data is to export the project settings. The exported file can be used to load the project settings at a future time period. When ArcMap is saved the settings are preserved but if multiple projects are run the last settings are set in ArcMap, regardless of the saved map (i.e., the settings are not saved with a specific ArcMap file, rather to ArcMap).
Click the Project button on the ArcFuels10 toolbar then select Export Settings from the drop-down list.

Navigate to and save your project settings in your root ArcFuels folder.

You are now ready to start working with your data!