
This section will explain how to add the demonstration data and set the project settings to link the programs and folders necessary to complete the tutorial using the demonstration data.

Workflow for setting up a new project in ArcFuels10.
Two sets of instructions are included:
Add the demonstration data layer to your ArcMap.
 .
.
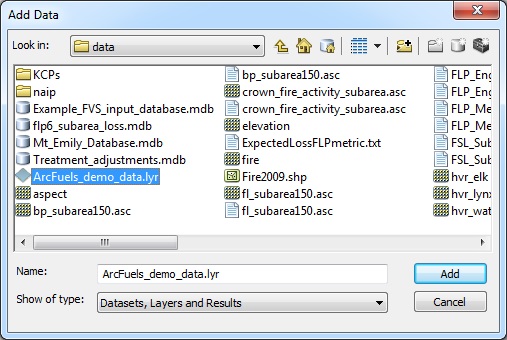
Don't see the 
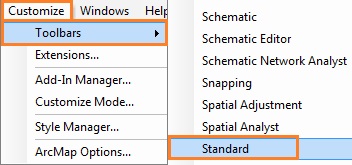
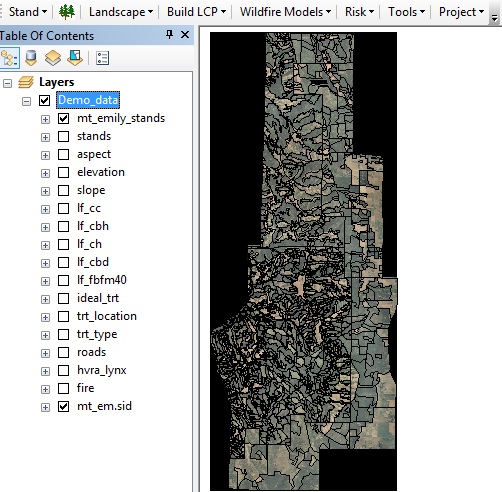
Next, all the links for the programs and files that ArcFuels10 uses will be set. Not all the possible links for ArcFuels10 will be set, only those used in this tutorial.
Click the Project button on the ArcFuels10 toolbar then select Project Settings from the drop-down list.

Select the Programs tab.
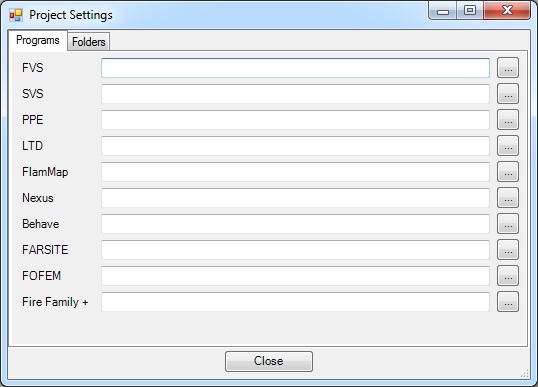
Click the navigation button  to the right of FVS.
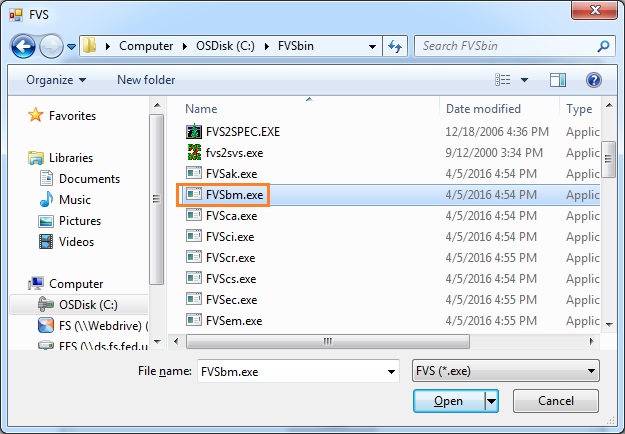
This will set the path for the executable for the Blue Mountain variant of the FVS with the FFE. For more information about the FVS/FFE-FVS please visit their web site.
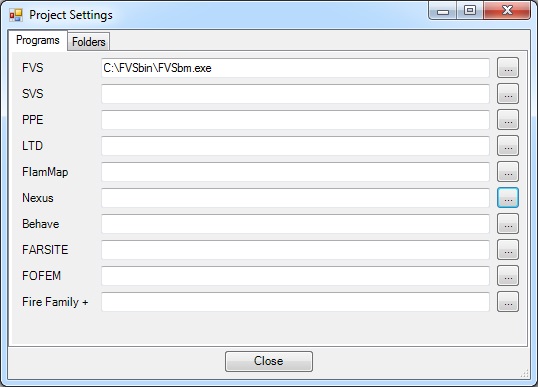
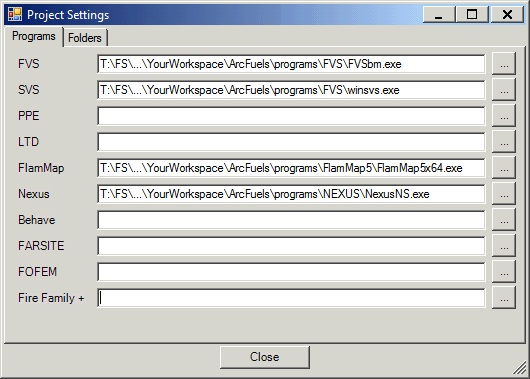
Using the navigation button  navigate to the remainder of the executables for all the programs.
Next, the folder links will be set.
Select the Folders tab.
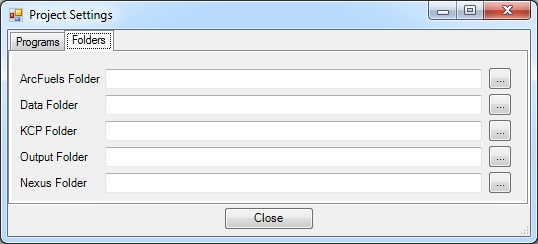
 to the right of ArcFuels Folder.
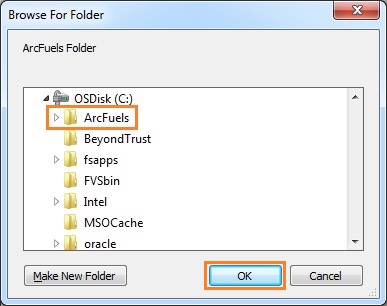
This will set the path for the ArcFuels root folder.
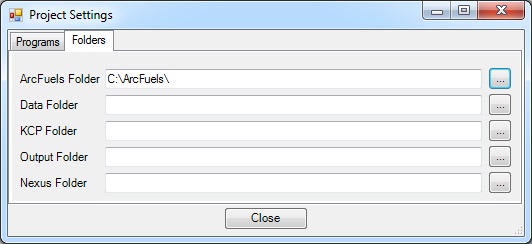
Using the navigation button  navigate to the remainder of the folders.
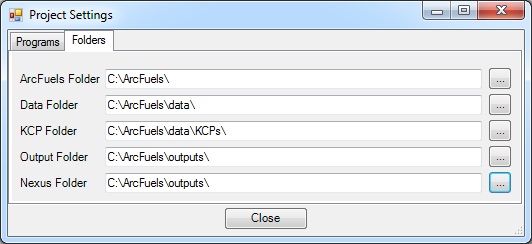
Click the Close button to close the Projects Setting form.
Now that the links to the folders and programs have been set. The settings will be exported so they are saved.
Click the Project button on the ArcFuels10 toolbar then select Export Settings from the drop-down list.

Navigate to the ArcFuels folder and save the file as "Mt Emily Project Settings." Then click the Save button.
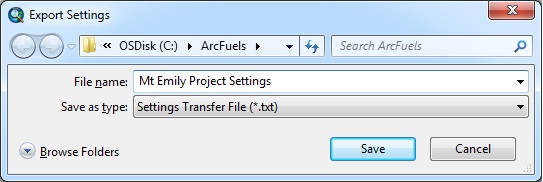
This saves all the settings in a text file. This enables the user to easily transition between multiple projects with multiple settings and not have to reset the links every time.
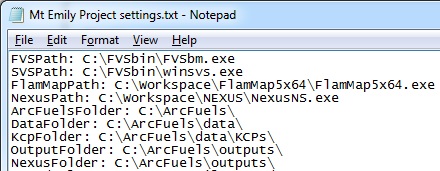
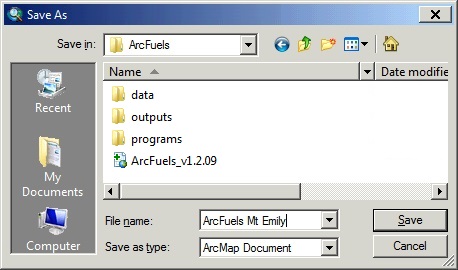
Save your ArcMap session in your ArcFuels folder.
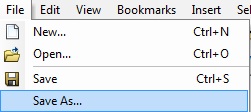
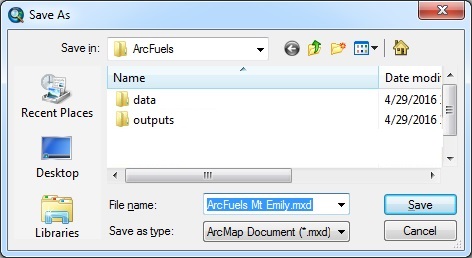
For the following directions, the \...\ refers to the portion of the path to your workspace on the T-drive.
For all paths set up in Citrix, it is important that they link to the T-drive and not the \\ds.fs.fed.us\efs\FS\... default pathway. After navigating to the proper location you will need to manually change the path to T:\FS\....
Add the demonstration data layer to your ArcMap.
 .
.
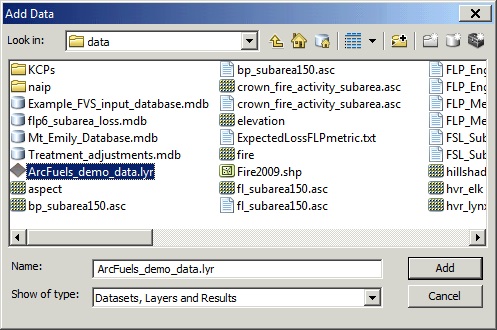
Don't see the 

Because your workspace is a different path than where the data layer was created, the data sources needs to be set for all layers.
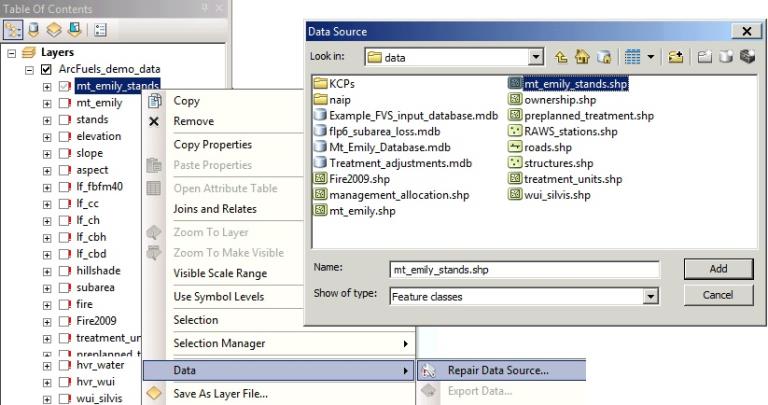
This should repair the data sources for all the layers. If it does not, repeat the process for the remaining layers which display the red exclamation points to the left.

Next, all the links for the programs and files that ArcFuels10 uses will be set. Not all the possible links for ArcFuels10 will be set, only those used in this tutorial.
For all paths set up in Citrix, it is important that they link to the T-drive and not the \\ds.fs.fed.us\efs\FS\... default pathway. After navigating to the proper location you will need to manually change the path to T:\FS\....
Click the Project button on the ArcFuels10 toolbar then select Project Settings from the drop-down list.

Select the Programs tab.
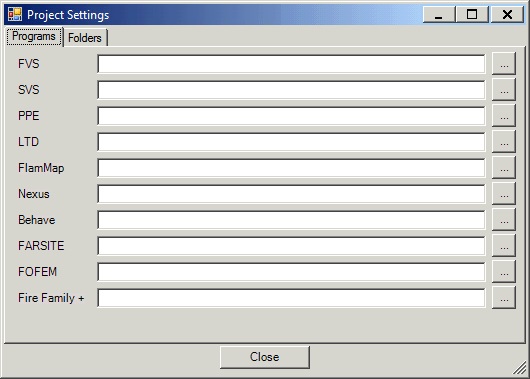
Click the navigation button  to the right of FVS.
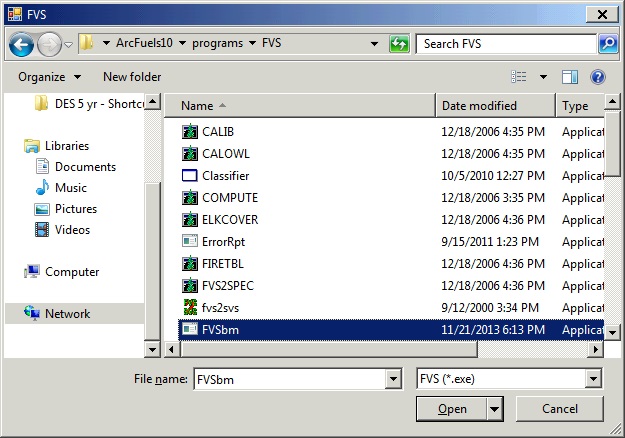
This will set the path for the executable for the Blue Mountain variant of the FVS with the FFE. For more information about the FVS/FFE-FVS please visit their web site.
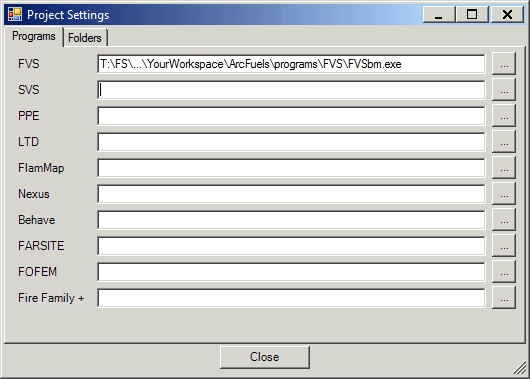
Using the navigation button  navigate to the remainder of the executables for all the programs.
Next, the folder links will be set.
Select the Folders tab.
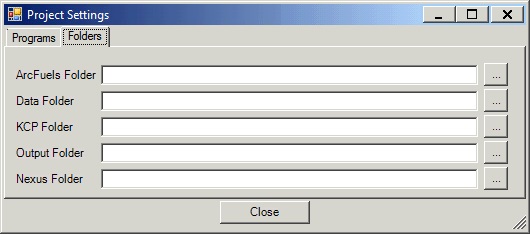
Click the navigation button  to the right of ArcFuels Folder.
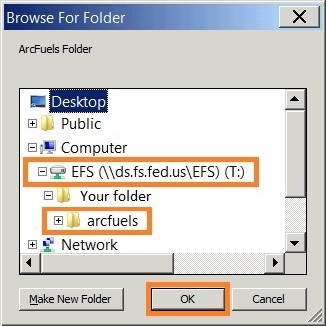
This will set the path for the ArcFuels root folder.
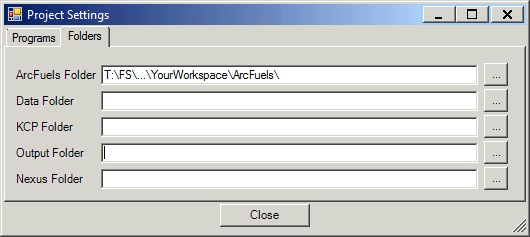
Using the navigation button  navigate to the remainder of the folders.
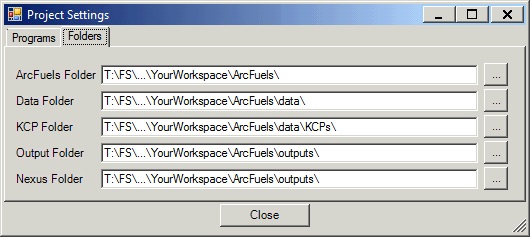
Click the Close button to close the Projects Setting form.
Now that the links to the folders and programs have been set. The settings will be exported so they are saved.
Click the Project button on the ArcFuels10 toolbar then select Export Settings from the drop-down list.

Navigate to the ArcFuels folder and save the file as "Mt Emily Project Settings." Then click the Save button.

This saves all the settings in a text file. This enables the user to easily transition between multiple projects with multiple settings and not have to reset the links every time.

Save your ArcMap session in your ArcFuels folder.

Continue on to the tutorial for the tool bar functionality: The ArcFuels10 toolbar